Milk Mochi: An Incredible Ultimate Recipe for 10 Amazing Bites

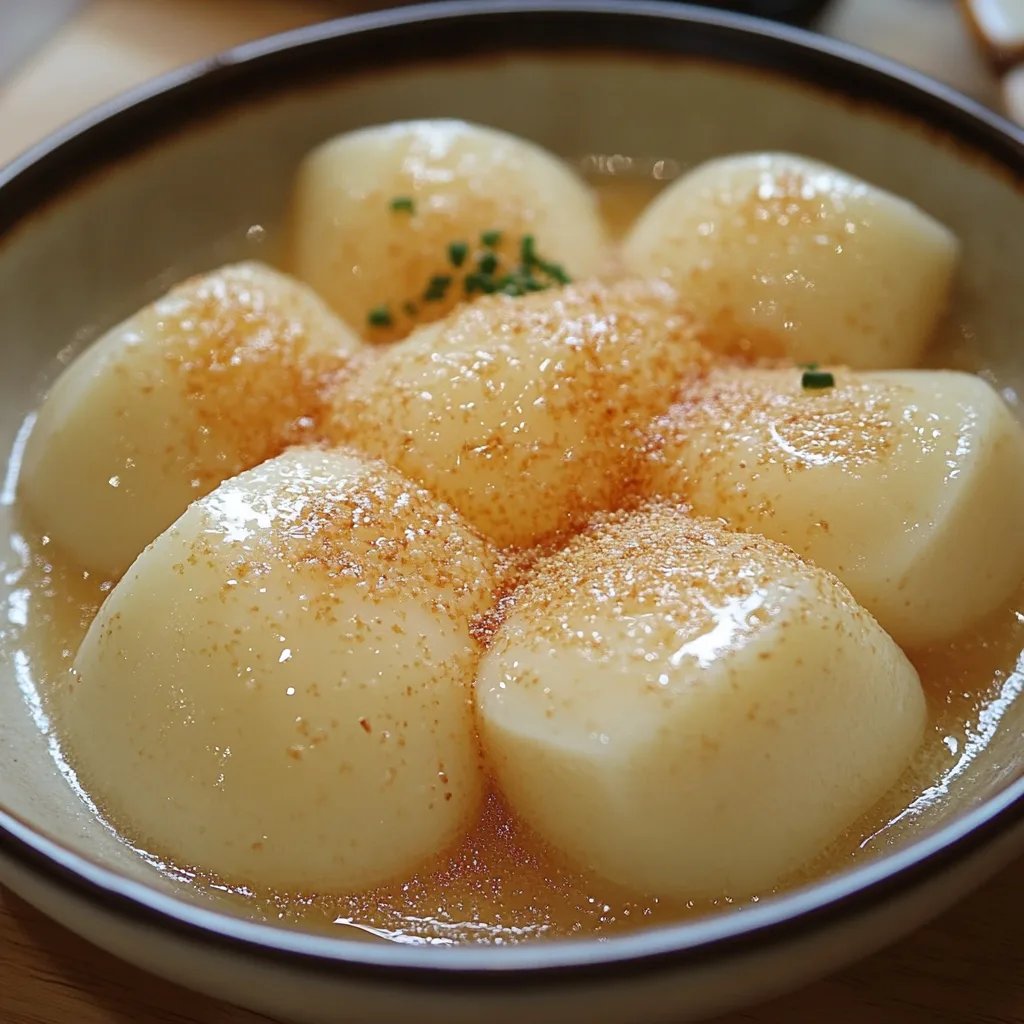
Milk mochi is a delightful treat that combines chewy, sticky rice with the rich flavors of milk. This Japanese-inspired dessert is gaining popularity for its unique texture and creamy taste. If you’re new to the world of mochi, you’re in for a wonderful experience. The contrast of the soft, chewy exterior and creamy filling makes each bite truly special. Whether you’re celebrating a special occasion or simply treating yourself, milk mochi is perfect for impressing friends and family.
This amazing recipe brings a delightful twist to traditional mochi by infusing it with milk, making it even more flavorful and satisfying. If you have a sweet tooth, you’ll surely fall in love with this dessert. The unique flavor profile and texture transform mochi into something extraordinary. Today, I’ll guide you through why this recipe stands out and how to make the perfect batch. Let’s dive into the world of milk mochi!
Why You’ll Love This Recipe
You'll love this milk mochi recipe for several reasons:
- Unique Flavor Combination: The use of milk adds a rich and creamy flavor that complements the chewy texture of the mochi perfectly.
- Simple Ingredients: The ingredients are straightforward and commonly found, making it easy for anyone to try.
- Easily Customizable: You can adjust flavors and fillings to suit your taste. Think of adding matcha, chocolate, or fruit fillings!
- Perfect for Sharing: This recipe yields about 10 pieces, making it ideal for family gatherings or as a sweet treat for guests.
- Kid-Friendly: The fun texture and taste make this a fantastic dessert for kids, encouraging them to participate in the kitchen.
- Instagram-Worthy: The lovely appearance of milk mochi is perfect for sharing on social media, allowing you to show off your culinary skills!
With these appealing features, it’s easy to see why milk mochi is becoming a favorite dessert for many. Each piece of mochi delivers an incredible experience, combining tradition with a contemporary twist!
Preparation and Cooking Time
To create the delightful milk mochi, you will spend a total of about 1 hour and 15 minutes, including preparation and cooling time. Here’s a simple breakdown of the time involved:
- Preparation Time: 30 minutes
- Cooking Time: 30 minutes
- Cooling Time: 15 minutes
This timing can vary slightly based on your kitchen equipment and experience level, but this outline gives you a reliable plan.
Ingredients
- 1 cup sweet rice flour (mochi flour)
- 1/2 cup granulated sugar
- 1 cup milk (any kind)
- 1 tablespoon cornstarch
- 1/4 teaspoon salt
- Cornstarch or potato starch (for dusting)
- Optional fillings (like red bean paste, ice cream, or fruit)
Step-by-Step Instructions
Making milk mochi can be a simple and enjoyable process when you follow these clear steps:
- Prepare the Steamer: Fill a steamer pot with water and bring it to a gentle boil.
- Mix Dry Ingredients: In a large mixing bowl, combine sweet rice flour, sugar, cornstarch, and salt. Stir well.
- Add Milk: Gradually pour in the milk while stirring the mixture to avoid lumps. The dough should be smooth and free of any dry spots.
- Steam the Mixture: Pour the mochi mixture into a heatproof dish that fits inside your steamer. Cover it tightly with foil to prevent water from dripping in. Steam for about 30 minutes.
- Check for Doneness: After 30 minutes, check the mochi. It should become slightly translucent and firm to the touch.
- Cool the Mochi: Carefully remove the dish from the steamer and let it cool for about 10 minutes. It will be hot, so be cautious!
- Dust Your Surface: Sprinkle cornstarch or potato starch on a clean surface to prevent sticking.
- Shape the Mochi: Once cooled, transfer the mochi dough to the dusted surface. Knead it gently and divide it into 10 equal pieces.
- Fill with Your Choice: Flatten each piece of dough and add a small spoonful of your chosen filling. Wrap the dough around the filling and pinch it to seal completely.
- Finish with Starch: Roll the mochi in additional cornstarch or potato starch to coat, preventing them from sticking together.
These steps will help you create incredible homemade milk mochi effortlessly!
How to Serve
To present your delicious milk mochi beautifully and enhance the enjoyment of this treat, consider the following tips:
- Plating: Arrange the mochi on a decorative plate or serving dish for a stunning presentation.
- Garnishes: A light dusting of powdered sugar or a drizzle of chocolate can elevate the look.
- Accompaniments: Pair with fresh fruit, sweetened condensed milk, or even a scoop of ice cream for an indulgent dessert experience.
- Storage: If you have leftovers, store them in an airtight container to maintain their chewy texture.
- Enjoy Fresh: Milk mochi is best enjoyed fresh, but it can be stored in the fridge for a day or two.
By paying attention to the way you serve milk mochi, you can create a delightful experience that will surely impress family and friends alike!
Additional Tips
- Use Quality Ingredients: Selecting high-quality sweet rice flour and fresh milk will enhance the flavor of your milk mochi.
- Experiment with Fillings: Don’t hesitate to try different fillings! Options like sweetened red bean paste, matcha ice cream, or even fruit preserves bring new dimensions to your mochi.
- Dust with Starch Generously: Use plenty of cornstarch or potato starch to coat the mochi to prevent it from sticking together.
- Work Quickly: Once the mochi dough is prepared, shape and fill it promptly to maintain its pliability.
- Adjust Sweetness: If you prefer less sweetness, reduce the sugar in the dough or fillings to suit your taste.
Recipe Variation
There are endless possibilities to customize your milk mochi. Here are a few fun variations:
- Matcha Mochi: Add 1-2 tablespoons of matcha powder to the dry ingredients for a delightful green tea flavor.
- Chocolate Mochi: Mix cocoa powder into the dough or use chocolate ganache as a filling for a rich twist.
- Fruit-Filled Mochi: Substitute traditional fillings with fresh fruits like diced strawberries, mango, or blueberry for a refreshing treat.
- Savory Mochi: For those who enjoy a savory flavor, consider adding a small amount of cheese or other savory fillings.
Freezing and Storage
- Storage: Keep your milk mochi in an airtight container at room temperature. They are best consumed within a few days for optimal texture and flavor.
- Freezing: You can freeze milk mochi for up to one month. Wrap each piece individually in plastic wrap or place them in a freezer-safe container. Thaw them at room temperature before serving.
Special Equipment
To successfully create your milk mochi, you will need the following equipment:
- Steamer: A bamboo steamer or a tiered metal steamer works perfectly for cooking the mochi.
- Mixing Bowls: A set of mixing bowls for combining your ingredients is essential.
- Heatproof Dish: Ensure you have a dish that can withstand steaming.
- Spatula or Spoon: A spatula or spoon will help to mix and distribute the ingredients effectively.
Frequently Asked Questions
Can I use regular rice flour instead of sweet rice flour?
No, sweet rice flour (also known as glutinous rice flour) is essential for achieving the signature chewy texture of mochi. Regular rice flour won’t yield the same results.
How do I know when the mochi is done cooking?
Your mochi is ready when it becomes slightly translucent and firm. A skewer or toothpick should come out clean if inserted through the dough.
Is it possible to make this recipe vegan?
Yes, you can substitute regular milk with plant-based alternatives, such as almond, soy, or coconut milk, to make the recipe vegan-friendly.
How can I make my mochi softer?
If you prefer softer mochi, try steaming for a bit longer. However, be cautious not to over-steam as it may become too sticky.
What can I do if my mochi sticks together?
Make sure to dust the mochi well with cornstarch during storage. If they start to stick after freezing, you can separate them with a thin layer of cornstarch before serving.
Conclusion
Milk mochi is a fantastic, flavorful treat that delights with every chewy bite. The delicious blend of textures and customizable fillings enhances this beloved Japanese dessert. Whether enjoyed by yourself or shared with loved ones, making milk mochi is satisfying and rewarding. With this comprehensive guide in hand, you're equipped to create your own memorable batch. So, why not gather your ingredients and dive into the delightful world of milk mochi today? You won't regret it!