Oreo Balls: An Incredible Ultimate Recipe That Will Amaze You

Oreo Balls are a delightful treat that every dessert lover should try. Made from simple ingredients and bursting with rich flavors, these bite-sized delights are perfect for any occasion. Whether you’re hosting a party, celebrating a holiday, or simply indulging your sweet tooth, Oreo Balls offer a wonderful combination of crunch and creaminess that makes them absolutely irresistible.
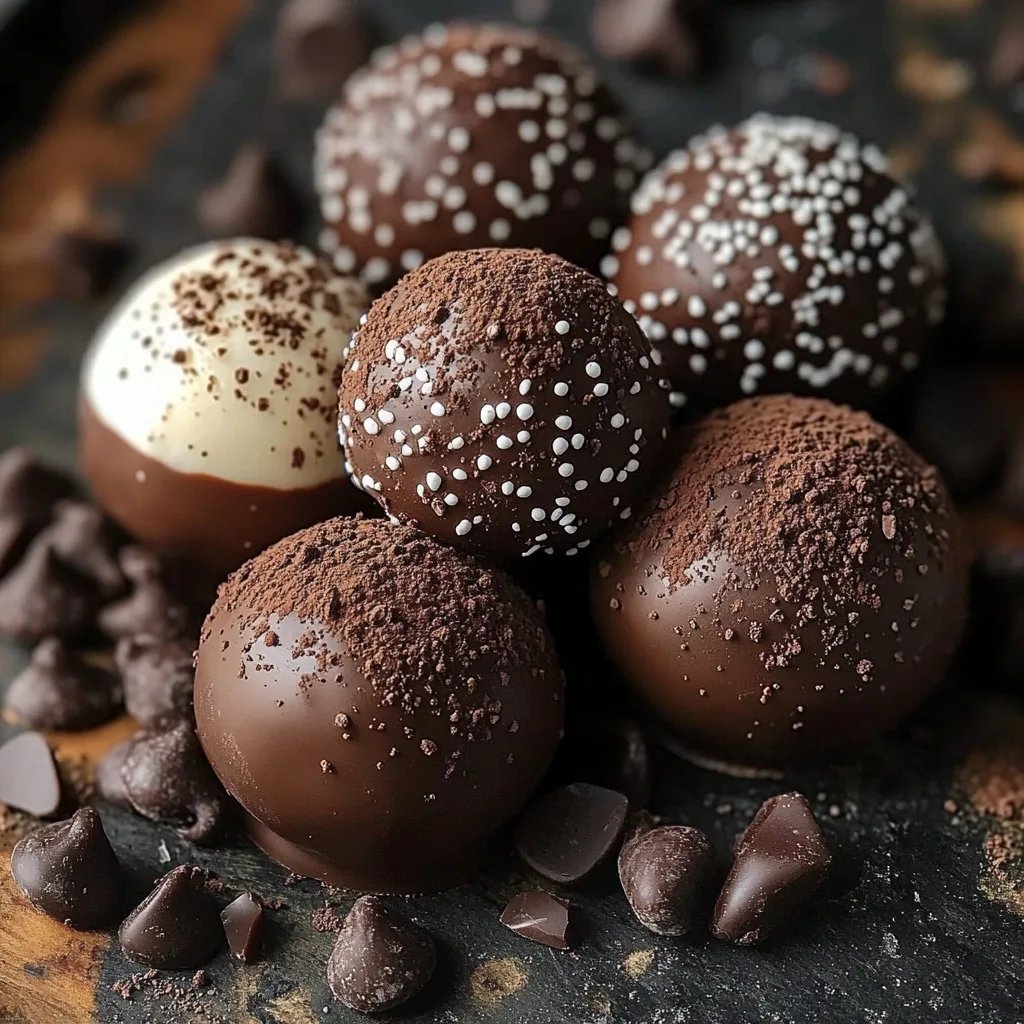
The beauty of Oreo Balls lies in their simplicity. With just a few ingredients, you can create a decadent treat that requires minimal effort but yields maximum satisfaction. Each bite reveals a creamy core enveloped in a chocolate shell, showcasing the classic taste of Oreos that we all know and love. If you can’t decide between chocolate or cookies-and-cream desserts, these Oreo Balls will undoubtedly provide the best of both worlds!
Many people have fond memories of sharing Oreos with family and friends, dipping them in milk, or enjoying them straight from the package. Now, you can elevate that experience with these incredible Oreo Balls. This guide will walk you through the steps to create your own, while highlighting why this recipe stands out as a must-try dessert.
Why You’ll Love This Recipe
There are countless reasons to fall in love with Oreo Balls, but here are a few that truly set this recipe apart:
1. Easy and Quick: You can whip up a batch of Oreo Balls in no time, making them perfect for last-minute snacks or desserts.
2. No Baking Required: Unlike many desserts that require extensive cooking or baking, Oreo Balls simply need to be mixed, rolled, and chilled.
3. Customizable Flavors: While the classic version features chocolate and cream, you can easily experiment with different toppings and coatings, such as white chocolate or crushed nuts.
4. Crowd-Pleaser: These little gems are perfect for parties, potlucks, or family gatherings. They’re guaranteed to disappear quickly!
5. Perfectly Portable: Oreo Balls are easy to transport, making them great for picnics or road trips.
6. Kid-Friendly Fun: Involving children in the creation process can be a joyful and memorable experience for the entire family. Rolling and decorating the balls can be a fun activity that brings everyone together.
Considering these aspects, it’s no wonder that Oreo Balls have become a beloved treat in many households. Every bite evokes nostalgia, sweetness, and the comfort of homemade goodness.
Preparation and Cooking Time
When making Oreo Balls, you will spend a total of about 30-45 minutes to prepare and chill them. Here’s a breakdown of the time required:
– Preparation Time: 15 minutes
– Chill Time: 15-30 minutes (or more, depending on your preference)
– Total Time: 30-45 minutes
The chilling time is essential for achieving the perfect texture, but the actual prep work is quick and easy!
Ingredients
– 1 package (15.5 ounces) Oreo cookies
– 8 ounces cream cheese, softened
– 16 ounces semi-sweet chocolate, chopped
– 1 tablespoon vegetable oil (optional, for dipping)
– Additional crushed Oreos or sprinkles for topping (optional)
Step-by-Step Instructions
Creating these delicious Oreo Balls is a breeze! Follow these steps:
1. Crush the Oreos: Place the entire package of Oreo cookies in a food processor. Pulse until they are finely crushed into crumbs.
2. Combine with Cream Cheese: In a large mixing bowl, combine the crushed Oreos with softened cream cheese. Mix until fully integrated and smooth.
3. Form the Balls: Using your hands, scoop out a tablespoon of the mixture and roll it into a ball. Place each ball on a parchment-lined baking sheet.
4. Chill: Once all the balls are formed, refrigerate them for about 15-30 minutes. This will help them firm up before dipping.
5. Melt the Chocolate: While the balls chill, melt the semi-sweet chocolate in a microwave-safe bowl or using a double boiler. If using a microwave, heat in 30-second intervals until smooth, stirring between each session. You can add vegetable oil for a smoother consistency.
6. Dip the Balls: Once chilled, take each ball and dip it into the melted chocolate, ensuring it’s fully coated. Use a fork to lift it out and tap off any excess chocolate.
7. Place to Dry: Return the dipped Oreo Balls to the parchment-lined baking sheet. If desired, sprinkle crushed Oreos or toppings over while the chocolate is still wet.
8. Chill Again: Place the tray back into the refrigerator to allow the chocolate to set, which usually takes about 15 minutes.
9. Serve Him: After the chocolate has harden, your Oreo Balls are ready to be enjoyed!
Following these simple steps allows anyone to create magical Oreo Balls that will delight everyone who tries them.
How to Serve
When you’re ready to serve your Oreo Balls, consider the following suggestions to elevate your presentation:
1. Presentation Style: Arrange the Oreo Balls on a decorative platter or cake stand. This enhances the visual appeal and makes the treats look more festive.
2. Accompaniments: Offer alongside beverages like milk, coffee, or even hot chocolate for an extra comforting experience.
3. Garnishing: Use drizzled white chocolate over dark chocolate-coated balls for an elegant finish. Fresh fruits like strawberries can also complement the chocolate.
4. Portion Sizes: Cut each Oreo Ball in half for bite-sized portions if serving at a party. This way, guests can enjoy a taste without overindulging.
5. Keep Them Chilled: Oreo Balls taste best when chilled, so keep them in the refrigerator until just before serving.
With these serving tips, you’ll create an inviting and enjoyable dessert experience for you and your guests, making the Oreo Balls not just tasty but a true showstopper!
Additional Tips
– Use High-Quality Ingredients: For the best flavor, pick high-quality Oreos and chocolate. This will enhance the overall taste of the Oreo Balls.
– Ensure Proper Cooling: Allow your Oreo Balls to chill adequately after shaping. This will help them maintain their shape during dipping.
– Experiment with Toppings: Get creative with your toppings! Consider crushed nuts, sprinkles, or even a drizzle of caramel to add a unique twist.
– Keep Them Uniform: For a professional look, aim to make the balls roughly the same size. This ensures even coating and a delightful presentation.
– Pair with Different Flavors: Serve Oreo Balls alongside flavored drinks like mint chocolate smoothies or chai lattes for an exciting pairing.
Recipe Variation
Try these fun twists to elevate your Oreo Balls:
1. Peanut Butter Oreo Balls: Substitute half of the cream cheese with creamy peanut butter for a nutty flavor boost.
2. Mint Oreo Balls: Use mint-flavored Oreos to add a refreshing twist to your dessert.
3. White Chocolate Coating: Dip the balls in white chocolate instead of dark chocolate for a sweet contrast.
4. Coconut Oreo Balls: Roll the formed balls in shredded coconut after dipping in chocolate for added texture and flavor.
5. Rainbow Sprinkles: Add a pop of color by topping the chocolate-coated Oreo Balls with festive sprinkles.
Freezing and Storage
– Storage: Keep your Oreo Balls in an airtight container in the fridge. They will maintain their freshness for about a week.
– Freezing: You can freeze Oreo Balls for up to three months. Make sure to layer them with parchment paper to prevent sticking together.
Special Equipment
You don’t need much to create devious Oreo Balls, but having these tools will help you:
– Food Processor: Essential for crushing the Oreos into fine crumbs.
– Parchment Paper: Line your baking sheet with parchment to prevent sticking and make cleanup easier.
– Microwave-Safe Bowl: For melting your chocolate efficiently.
– Fork: Use to dip the Oreo Balls into the melted chocolate while keeping your hands clean.
Frequently Asked Questions
Can I make Oreo Balls vegan?
Yes, substitute the cream cheese with a vegan cream cheese and use dairy-free chocolate.
Can Oreo Balls be made gluten-free?
Absolutely! Ensure you use gluten-free Oreos, and the recipe will be suitable for those with gluten intolerance.
How do I know when the chocolate coating is set?
The chocolate will harden and lose its glossy sheen when fully set, typically taking about 15 minutes in the fridge.
Can I use different cookies?
Certainly! Experimenting with various cookie flavors like vanilla wafers or peanut butter cookies can yield delightful results.
What’s the best way to serve Oreo Balls at a party?
Place them on a decorative platter and consider adding festive garnishes to entice your guests visually.
Conclusion
Oreo Balls are not just a dessert; they are a delightful fusion of flavors that evoke nostalgia in every bite. Their easy preparation and endless customization options make them a go-to treat for any gathering or occasion. Whether enjoyed as a reward after a long day or brought to a family celebration, these little chocolate-coated gems will impress everyone. The blend of crunch and creaminess makes Oreo Balls a unique dessert that continues to amaze and satisfy. Don’t hesitate to get creative with flavors and presentation — these treats are bound to leave a lasting impression!